Gallipoli: Forcing the Dardanelles
Posted on 30th August 2021
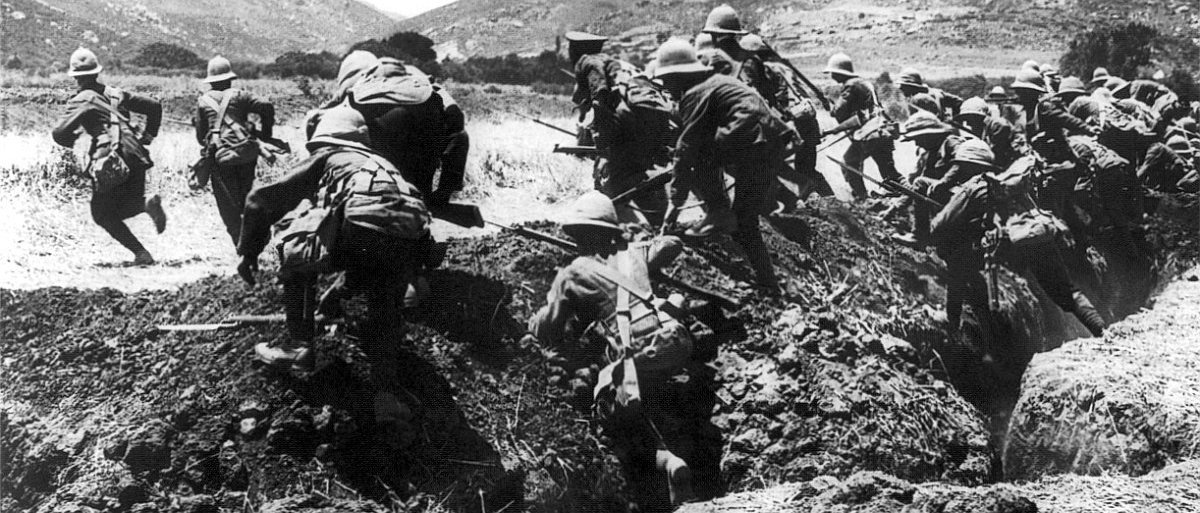
The Dardanelles Campaign, better known as Gallipoli, was an audacious attempt by the Allied powers to change the course of the Great War by opening a second front in the Balkans. They intended to force a route through the Dardanelles Straits to the Black Sea, isolate and then capture Constantinople and free up a sea-route to Russia for reinforcement and resupply.
The Ottoman Empire had finally declared for the Central Powers of Germany and Austria-Hungary, on 29 October 1914 though she had been receiving German arms and military training for many months prior to this. Her entry into the war posed a direct threat to British Imperial possessions in the Middle East, her oil reserves in Iran and Iraq and the security of the Suez Canal her vital lifeline to India and the Far East. As such she had made frantic diplomatic efforts in the preceding months to maintain Turkish neutrality even resorting to outright bribery, but the Germans were to offer more.
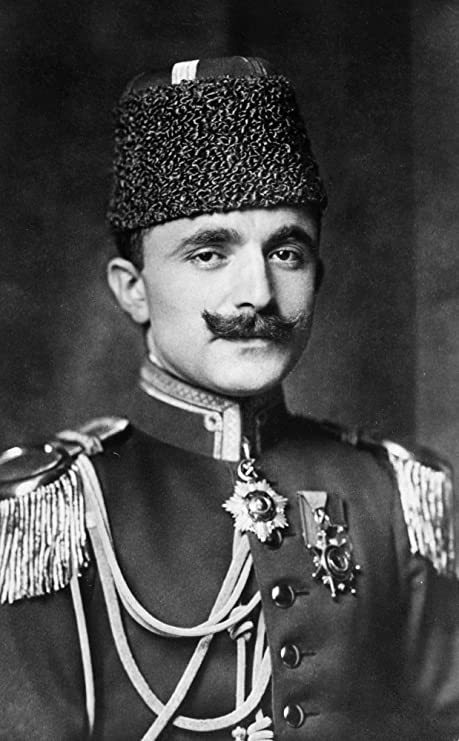
Turkey’s ambitious Prime Minister Enver Pasha was eager to regain those European territories that had been lost during the Balkan Wars and restore Turkish prestige following its humiliating defeat. He also greedily eyed those British possessions the seizure of which would see the Ottoman Empire once again become the pre-eminent power in the region. Part of his strategy was to place Turkey at the head of a Muslim uprising against the Imperial powers in the Middle East and so he had Sultan Mehmed V declare Jihad, or Holy War.
The German’s had also been eager for the declaration of Jihad believing that it would sufficiently undermine British power in the Middle East to threaten their hold on the Empire and force them to either withdraw substantial forces from the Western Front to defend it or sue for a separate peace. As a result, they had been pressurising the Sultan for some time. But the corrupt and hedonistic Ottoman Court was hardly a place that could easily call upon the sacrifices required of Jihad with any sincerity while centuries of Ottoman rule had not endeared them to many of their fellow Muslims - the call to Jihad was to have little impact outside of Turkey itself.
By the spring of 1915, the war on the Western Front had become a stalemate with both sides dug into ever more elaborate trench systems protected by machine guns and barbed wire with the prospect of any swift breakthrough unlikely.
Other alternatives were being looked at, but the Military High Command of both Britain and France were reluctant to weaken their forces on the Western Front to facilitate operations elsewhere.
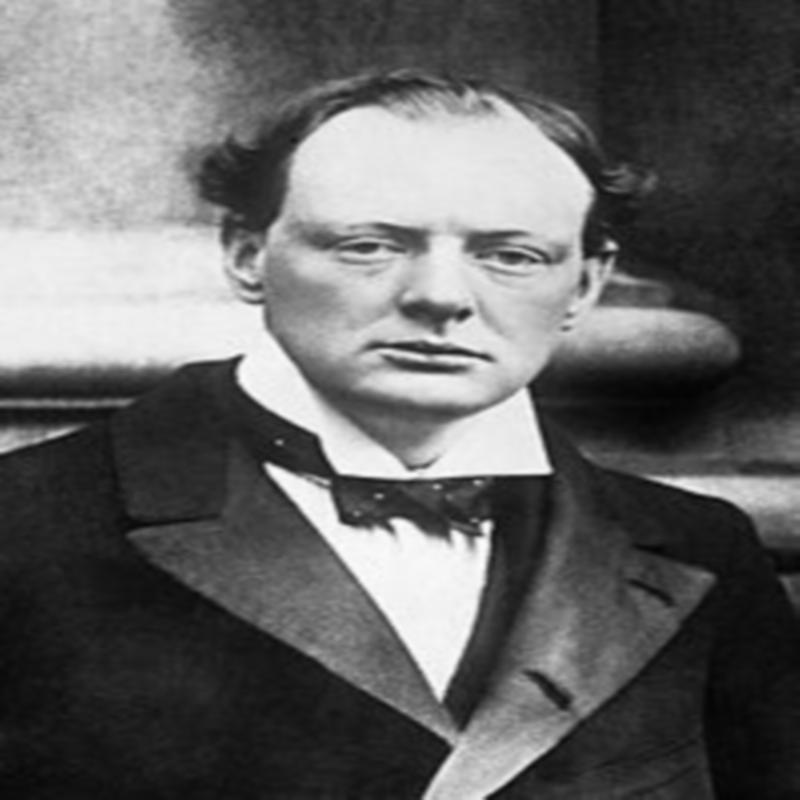
The Dardanelles Campaign was the brainchild of the First Lord of the Admiralty Winston Churchill who fought vigorously for its adoption in Cabinet where he was often opposed by his own First Sea Lord John “Jackie” Fisher who advocated instead a naval landing on the north coast of Germany. It was Churchill who won the argument, but their always tempestuous relationship was to turn decidedly frosty thereafter.
The attraction of Churchill's plan was that he had originally conceived it as being an almost entirely naval operation which if land forces were needed at all would be limited and strategic.
The Dardanelles were defended by a series of forts which as the Straits narrowed to just a few hundred yards could unleash a deadly rain of fire on any passing vessel, but Churchill was aware that the Royal Navy possessed a surplus of obsolete battleships that could not be used in any direct confrontation with the German High Seas Fleet but could be used to destroy the Turkish guns. Once the guns had been silenced Royal Marines could be landed to take possession of the forts themselves.
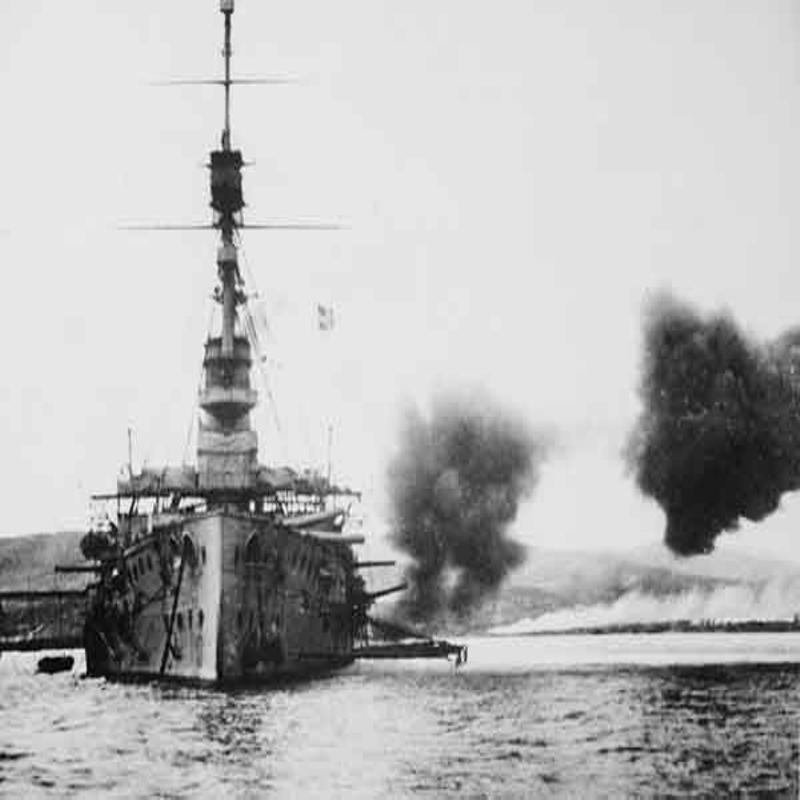
On 19 February, an Anglo-French Fleet had bombarded the coastal defences of Constantinople and the response of the forts had been sporadic at best and largely ineffective leading some to believe they were short of ammunition. They had also struggled to find their range with cast doubt on the quality of training received by the Turkish gunners. The evidence augured well for the campaign to come.
In the following weeks operations to clear the Straits of mines were carried out by un-armoured trawlers that were still manned by their civilian crews who were understandably reluctant to work under fire and as a result the waters close to either shore was never effectively cleared with tragic results.
Earlier some of the outer forts had been stormed by Royal Marines who had met little resistance but discovered that the naval bombardment itself had done little to destroy the Turkish guns and as time passed and the Allies did little to force the Straits, Turkish resolve stiffened and on the night of 8 March they sent the Minelayer Nusret to lay 26 mines in a line along the Asiatic shoreline. Her mission was to go undetected with tragic consequences.
At last, on 18 March the main operation to force the Straits began despite the Admiral in command John de Robeck having expressed his doubts that a naval bombardment alone could silence the guns and force the Straits. The fleet sailed then with some reluctance and as it advanced down the Straits and immediately came under heavy fire that reluctance only grew.
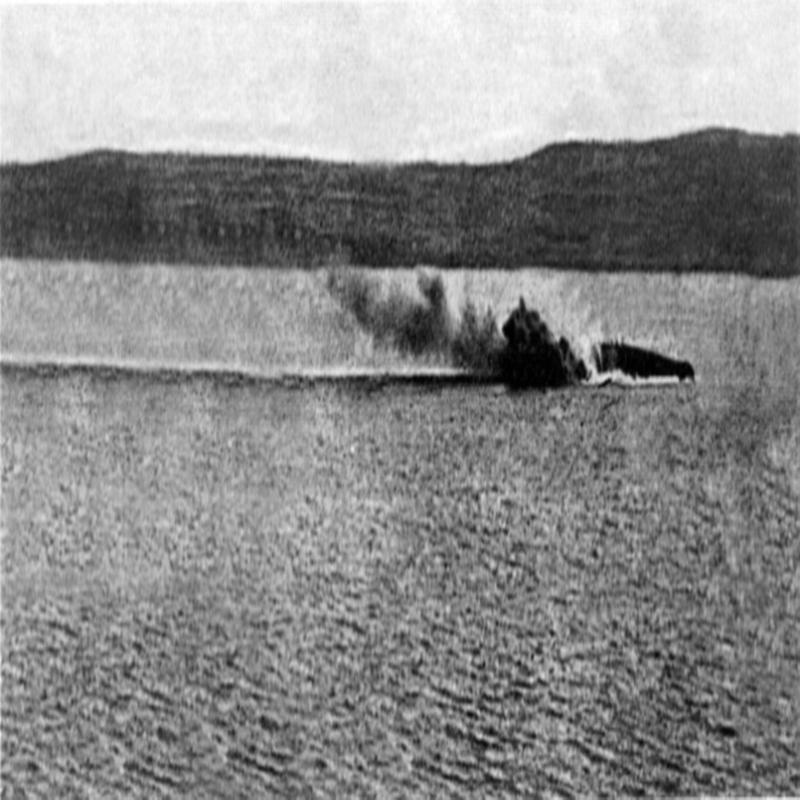
At around 1.45 pm the French battleship Bouvet struck one of the mines that had been laid earlier by the Nusret sinking in just two minutes and taking 650 of her crew with her.
At 4 pm the Inflexible also struck a mine killing 30 of her crew and a little later HMS Irresistible was also struck and with her rudder destroyed began to drift towards the shoreline where she came under intense bombardment from the forts nearby. Attempts to tow her to safety had to be abandoned as she began to sink. Most of her crew had been successfully evacuated but even so 150 men had been lost.
The battleship Ocean that had come alongside the Irresistible to help evacuate the surviving crew then also struck a mine and sank and she wasn’t to be the last victim as HMS Inflexible also damaged had to be beached. It had been a disastrous day with three battleships sunk, one abandoned and more than 800 men lost. The first concerted effort to force the Dardanelles Straits had been a catastrophe.
Churchill remained determined to resume the assault the following day but Admiral de Robeck distraught at his losses and fearing only more to come reported back to London that the defences could not be silenced, and the Straits forced by naval power alone.
Unknown to de Robeck however, was just how close the Allied Fleet had come to achieving its mission. The naval bombardment had brought down telegraph wires and severely disrupted communications, the forts themselves had been severely damaged with many of the guns destroyed and ammunition was perilously low. But of these things he remained unaware and the loss of so many capital ships in just a few hours had shaken him to the core.
The demands of the Western Front and of protecting the Empire meant that troops were scarce and Chief of the General Staff Lord Kitchener was disinclined to weaken in any way the effort against Germany on the Western Front but there were Australian and New Zealand volunteers training in nearby Egypt. These were now hastily formed into the Australian and New Zealand Army Corps, or Anzac, and were to be supported by the British 29th Infantry Division and a contingent of French troops largely made up of Africans from Senegal. The invasion force would number around 70,000 men.
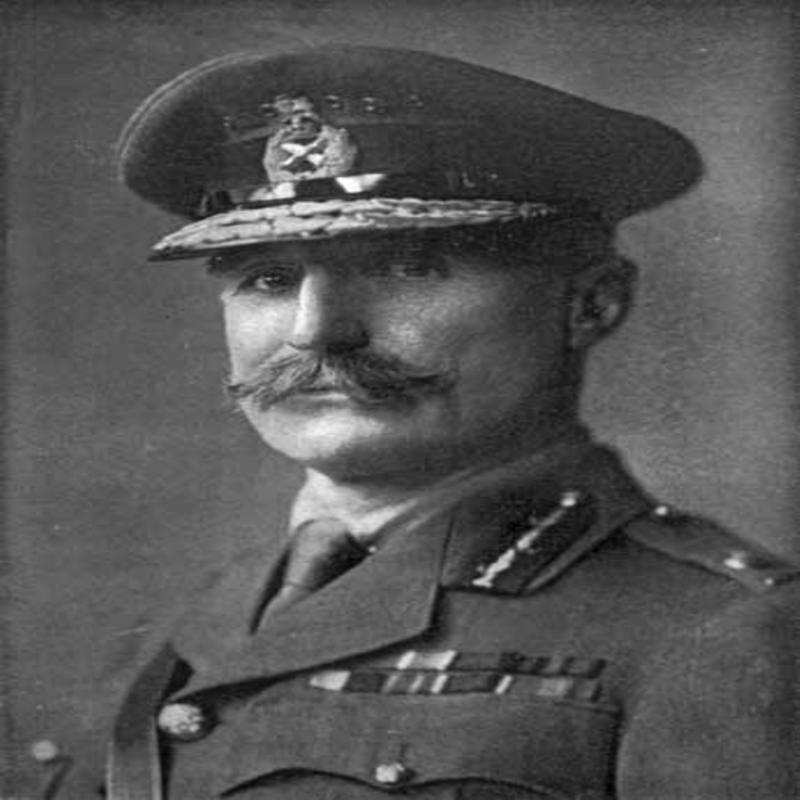
The commander of the so-called Mediterranean Expeditionary Force was to be the 62-year-old Sir Ian Hamilton, an experienced and highly decorated soldier who had fought in conflicts throughout the British Empire but he had never previously commanded such a large army in the field. Indeed, he hadn’t been trusted enough to be given a command on the Western Front, but he was politically well-connected and there were those willing to lobby on his behalf. He was delighted to be given the opportunity, but it wasn’t long before he too came to doubt whether the campaign could succeed and uncertain of himself his instructions would often be vague and indecisive creating in their wake an air of despondency.
The earlier bombardment had alerted the Turks to Allied intentions and a landing was expected but where exactly they did not know.
The overall commander of Turkish forces was the German General Liman von Sanders while one of the most prominent commanders on the ground Colonel Mustapha Kemal, the future Kemal Ataturk. They disagreed over the most likely landing spots.
Kemal, who knew the terrain well predicted that the Allies would land at Cape Helles and Gaba Tepe and he was to be proved right but when the landings came these areas remained thinly defended.
The Allies had little knowledge of the topography of the designated landing areas and the few maps they had were inaccurate and out of date so they attempted to supplement the available information by sending specially trained Officers to draw maps of the coastline from ships moored offshore. They were to prove surprisingly accurate in their outline of the terrain but they lacked detail and did not show gun emplacements, trench lines and barbed wire.
Though the area of the landing was manned by few Turkish troops they had used the contours of the land to set a defensive line which allowed them to funnel any invading troops into a deadly killing zone.
The British 29th Division would land on 5 separate beaches S V W X and Y at Cape Helles on the tip of the Gallipoli Peninsular. Their first day objective was to silence the guns at the fort of Kilitbahir, capture Achi Baba and then advance up the peninsular. The Anzac troops were to land further up the coast at Gaba Tepe, secure the high ground at Mal Tepe and then sweep across the peninsular cutting off the retreating Turks.
The landings began at 06.00 on 25 April 1915, following a short naval bombardment.
Some of the landings were virtually unopposed on Y Beach for example the British troops were to get within a few hundred yards of the village of Kirithia their first objective but then inexplicably stopped and dug in. They were never to get so close again.
It was a different story on W Beach where 900 Lancashire Fusiliers were first towed and then rowed to the beach in open boats. Progress was slow but despite being sitting targets the Turkish machine gunners held their fire until they were almost on the beach when mayhem ensued as some of the boats were set alight, others were holed and sunk, and men weighed down with equipment drowned. The Fusiliers were to suffer more than 400 casualties on that first morning.
The largest landing was at V Beach where some 3,000 men of the Royal Munster and Royal Hampshire Regiments alighted from both open boats and the collier River Clyde which beached itself and then lowered gangplanks for the men to run out one at a time. Targeted by the Turkish gunners of the first 200 men to leave the River Clyde only 21 made it safely onto the beach and a massacre was only averted by a small sandbank three feet high behind which the men could shelter and dig in.
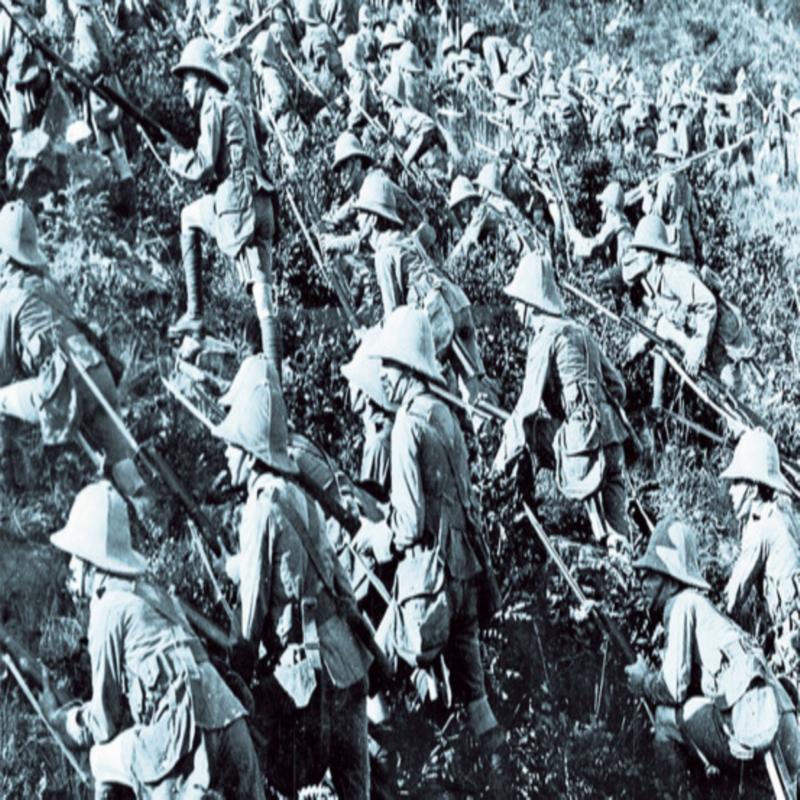
The Anzacs to the north had landed virtually unopposed but in the wrong place and now had to try and advance across some of the most difficult terrain imaginable. They were to meet little opposition and were making good progress until they encountered a plateau that had not appeared on any map. From the edge of the plateau was a cliffs edge with a sheer drop to a valley clogged by deep undergrowth below. A similar cliff faced them on the other side. It was impassable and soon became known as the Razor’s Edge. The Anzacs went no further.
The landings at Gallipoli had gone poorly for the Allies, casualties had been high and none of the first day objectives had been taken with some of the beaches even having to be abandoned. The Turkish defenders may have been few in number, but they had fought bravely and with intelligence. At V Beach for example just two well-placed machine guns had caused havoc.
The Anzacs now faced stiff resistance from the Turkish 57th Regiment but as they ran low on ammunition, they began to abandon the field. Colonel Mustapha Kemal ordered them to stop; if they had no bullets, they still had their bayonets and so they will lie down and wait until the enemy gets close enough to use them.
On 27 April, having been reinforced Mustapha Kemal made a concerted effort to force the Anzacs back to their beachhead and into the sea telling his troops “I order you not to fight but to die” but the Anzacs with artillery support from ships moored offshore managed to repulse the attack inflicting heavy casualties.
His words however summed up the spirit of the Turkish soldier at Gallipoli who was not just fighting for his country but also his home and his God.
With the failure of the landings on 25 April the element of surprise had been lost and with it any chance of a swift victory. A series of targeted assaults over the next few weeks were to widen the beachheads and make further inroads into the peninsular but the British were never to advance more than 4 miles inland still 3 miles short of their first day objective while the Turks still held the high ground. Both sides now dug in and prepared for what they knew was going to be a drawn-out conflict.
What Gallipoli had been intended to avoid it had become - the mirror-image of the stalemate of the trench warfare seen on the Western Front. Allied losses at sea also continued.
At 01.00 on the morning of the 13 May, off Cape Helles, the Turkish torpedo boat Muavenet i Hilliye eluded the destroyer screen that was protecting the battleship Goliath and released three torpedoes, all three hit and following a series of massive explosions the Goliath sank and capsized in minutes drowning 570 of her 700 strong crew.
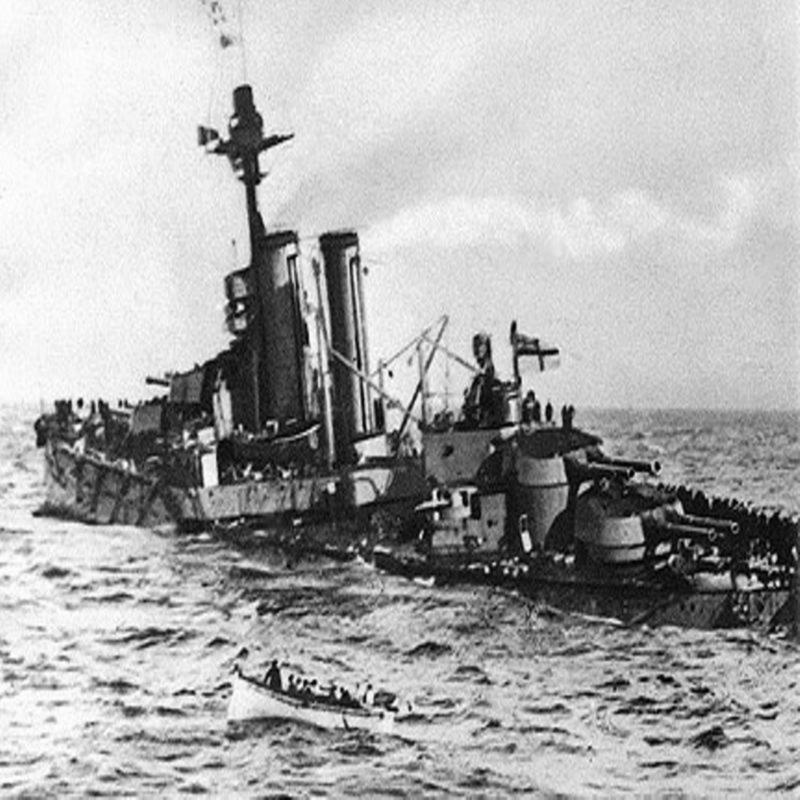
On 25 May, the battleship Triumph was torpedoed by the German submarine U-21 and sank killing 78 of her crew. Just two days later, yet another battleship HMS Majestic fell victim to U-Boat attack and sunk with the loss of 49 men. After these setbacks the Battleship Squadron was effectively withdrawn from the Dardanelles.
The men of both sides now settled down to a life of trench warfare and it was to be no less dangerous and gruelling as anything seen on the Western Front with the summer months a particular nightmare as temperatures often soared to over 100 degrees Fahrenheit and water was so scarce that the Allies had to import it in large tanks from Egypt which became a favourite target of the Turkish artillery.
The Turks also held the high ground all around and falling victim to a sniper, and many did, was a constant dread and as a result the numerous corpses in no-man’s-land and outside the trench works remained unrecovered. In the intense heat these very quickly became rancid and bloated and would be shot again to release the gas that had built up to try and reduce the stench and prevent the spread of disease. But there was nothing they could do about the flies.
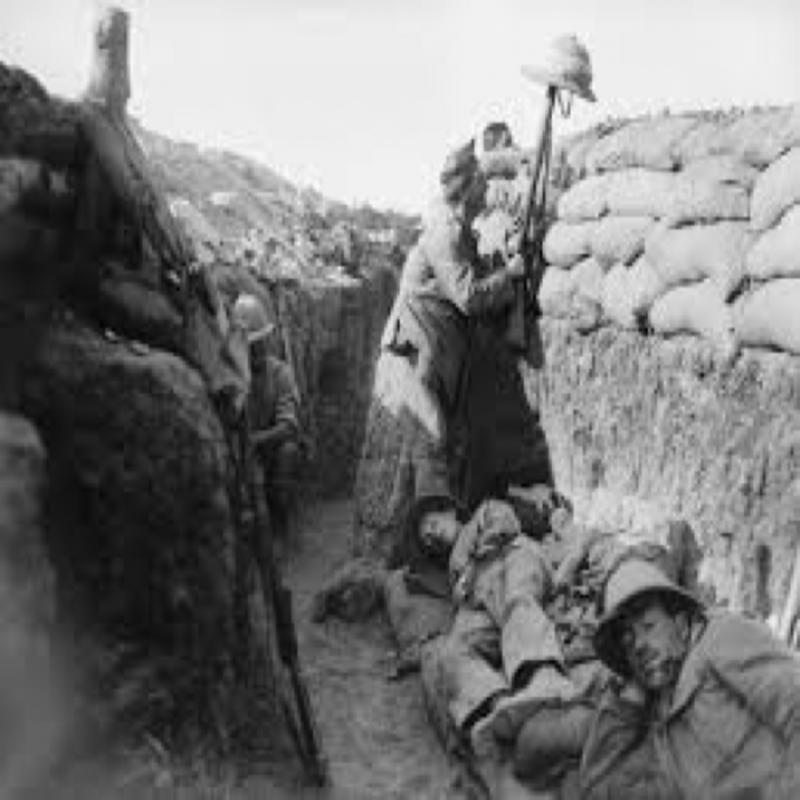
Disease was also rife with the most commonplace dysentery, a hideous wasting disease that would see those who contracted it quite literally shit out their very life essence. Some men unable to walk had to be carried to latrines that had been dug out of the ground and were very quickly filled up to overflowing. Others were so weak that having fallen into the latrine they were unable to extricate themselves and drowned.
With water so scarce personal hygiene was an impossibility and men with excrement covering their bodies and clothes simply had to endure it, rub it in or wait for it to dry and brush it off. The war also became a subterranean one as men made camp in caves and holes cut out in the cliffs.
They dug wells to find water that invariably turned out to be undrinkable and both sides-built tunnels in an attempt to undermine the enemy entrenchments.
Sir Ian Hamilton whose inertia and lack of initiative was causing rousing the ire of his superiors in London refused to act until he had been sufficiently reinforced. Reluctant to send further troops into what was becoming a quagmire of inactivity they only relented on the grounds that they would form part of an offensive.
Liman von Sanders was not blind to the build-up of forces and he remained confident that any assault could be repulsed. His men were present in numbers, they were well equipped and entrenched, had proved themselves in combat and he had the terrain on their side. He was nevertheless unaware of where the assault would come, and the Allies were careful to keep him guessing with a series of diversionary attacks.
Sir Ian Hamilton planned for a fresh landing to take place at Suvla Bay six miles north of Anzac Cove.
The landings were to coincide with a breakout by Australian and New Zealand troops at Lone Pine, Chunuk Bair and various other places along their front in an attempt to seize the high ground before the troops at Suvla Bay advanced from their beachhead.
Hamilton had earlier requested that London send him a Senior Commander to lead the operation, but most were already serving on the Western Front and could not be spared. The next in line of seniority of those available was 61-year-old Lieutenant-General Sir Frederick Stopford and he had never before commanded troops in battle combat and had previously retired.
The success of the new offensive lay in its secrecy and a series of diversionary landings were to take place at night to confuse the enemy before the main landing at Suvla Bay early the same morning.
Stopford however was a firm believer that no entrenched position could be taken without a preliminary artillery bombardment but because of the secrecy this option was not available to him so fearing that the first day objectives would not be taken without artillery support he took the arbitrary decision to limit them. Indeed, he was to limit them to such an extent that they barely went beyond securing the beachhead itself. Yet Hamilton learning of this did nothing even though the time squandered enabled the Turks to seize the high ground of the Anafarta Hills.
The diversionary landings began at 10 pm but a lack of clear planning and the failure to properly synchronise watches ensured that chaos ensued as equipment and supplies were misplaced, troops were landed on the wrong beaches and units stumbled into one another in the darkness. As this farce unfolded Stopford supposedly directing operations from HMS Jonquil moored offshore decided to take a nap.
But the British had in fact wrong footed the Liman von Sanders who never considering a landing at Suvla Bay had deployed his reinforcements in the wrong places and the area was weekly defended by just three battalions who had no machine guns. Stopford declined to order an advance from the beachhead however, and when he did finally do so it was only to seize the hills immediately surrounding it.
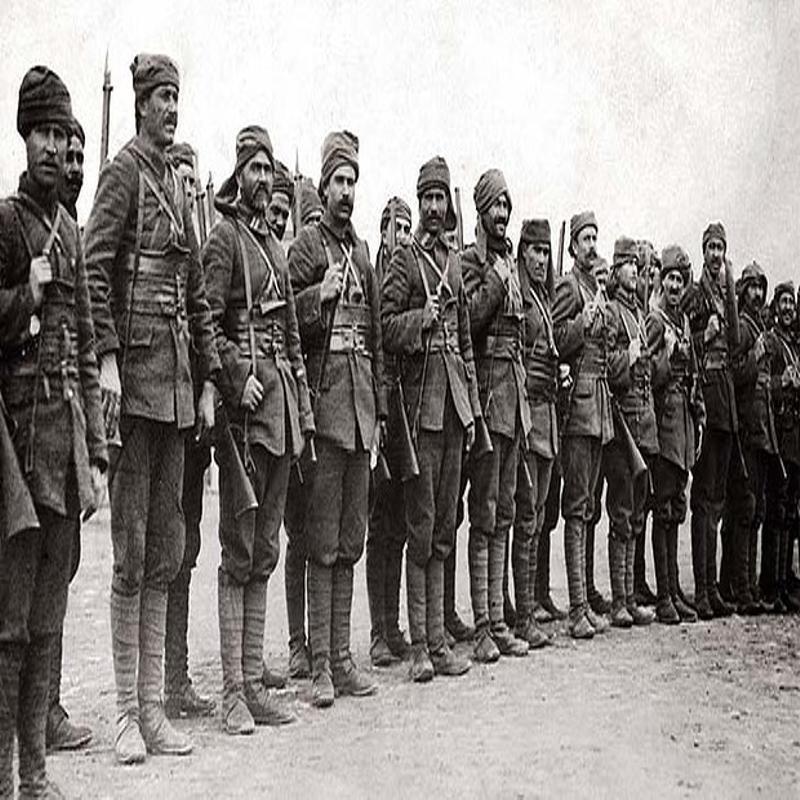
He feared coming up against strong fortifications when there were none and a ferocious Turkish counterattack when he was opposed by barely a thousand men armed only with rifles. The delay meant the element of surprise had been lost however and the British were to suffer around 1,500 casualties from small arms fire alone as they scrambled up the hills.
It wasn’t until the following day when Hamilton arrived on the scene to find British troops still resting on the beach that anything was done. He immediately ordered an assault on the Tekke Tepe ridge to the east but no preparation for an attack had been made and it could not fully get underway until the following day by which time Mustafa Kemal had arrived with reinforcements and seized the heights. The attack was repulsed even so Hamilton ordered them to continue for the next three days but to no avail.
The British failure at Suvla Bay had cost them some 18,000 casualties, the Turks 10,000. Yet again both sides now entrenched. In the meantime, the attacks at Anzac Cove and elsewhere went ahead as planned.
At Lone Pine the two opposing trench lines were some 150 yards apart which was quite some distance by the standards of Gallipoli but it permitted the Australians to be careful in their preparations and they had dug tunnels out into no-man’s-land from which their men could emerge cutting down the amount of time they would be exposed to enemy fire and three mines had also been detonated to provide craters for the men to shelter in should it be required. Just prior to the assault they also received support from the guns of HMS Bacchanate moored offshore.
At 5.30 pm on 6 August the first wave of 1,800 Australians moved forward meeting only minimal resistance as the Turks having been slow to recover their positions following the bombardment.
The Turkish trench however had a pine log roof and few easy points of access and as some Australians tore away at the roof others forced a way in and in the semi-darkness and close confines of the trench where it was dangerous to shoot and impossible to use grenades a fierce and desperate hand-to-hand struggle ensued as both Australian and Turk slashed and cut away at one another - there were to be a lot of bayonet wounds at Lone Pine.
By nightfall the Turks had been forced out and the Australian’s now reinforced awaited the inevitable counterattack which came one after the other for the next three days but the Australians held out. They were to suffer close to a thousand men killed, the Turks three times that number, but Lone Pine was to be a rare success for the Allies at Gallipoli.
It was quickly followed by another at Chunuk Bair, a rocky outcrop of the Sari Bair range of hills, an area that overlooked much of the battlefield and provided the Turks with an excellent position for their artillery, but it was to be a fleeting one. The attack was led by the New Zealand Wellington Regiment which made good progress and could probably have taken the position on the first day but the delays and uncertainty that had beset the entire Dardanelles campaign dogged them once more and by the following day resistance had stiffened. Even so, attacking at night the New Zealander’s had been able to force the Turks from the summit only to find that the rocky terrain made it almost impossible for them to dig in and that they were exposed to enemy gunfire.
The Turks as they were always quick to do, counter attacked, and the dense undergrowth in the valley beneath the summit meant that they were able to get within a few yards of the New Zealander’s before being seen. It was a brutal and bloody confrontation.
There was an attempt to reinforce the Wellington’s with British and Gurkha troops, but they did not arrive in time and the New Zealander’s were forced to withdraw by which the time they had lost killed and wounded 710 of 760 men.
The offensive at Chunuk Bair was also to involve one of the most controversial incidents of the entire campaign. To support the offensive a diversionary attack was to be undertaken by the Australians at a place known as The Nek.
The opposing trenches at The Nek were barely 70 yards apart and the success of any assault would be reliant upon speed. It had been planned for an artillery bombardment to keep the Turkish defenders pinned down or force them from their trenches. As soon as the bombardment ceased the Australians were to go over the top.
However, there was confusion over the time of the bombardment and how long it was due to last. When it ceased the Australian’s believed it still had seven minutes to go and waited expecting it to resume. It didn’t but orders were received for the attack to go ahead as planned. By this time the Turks had re-emerged from their shelters and re-manned their machine guns.
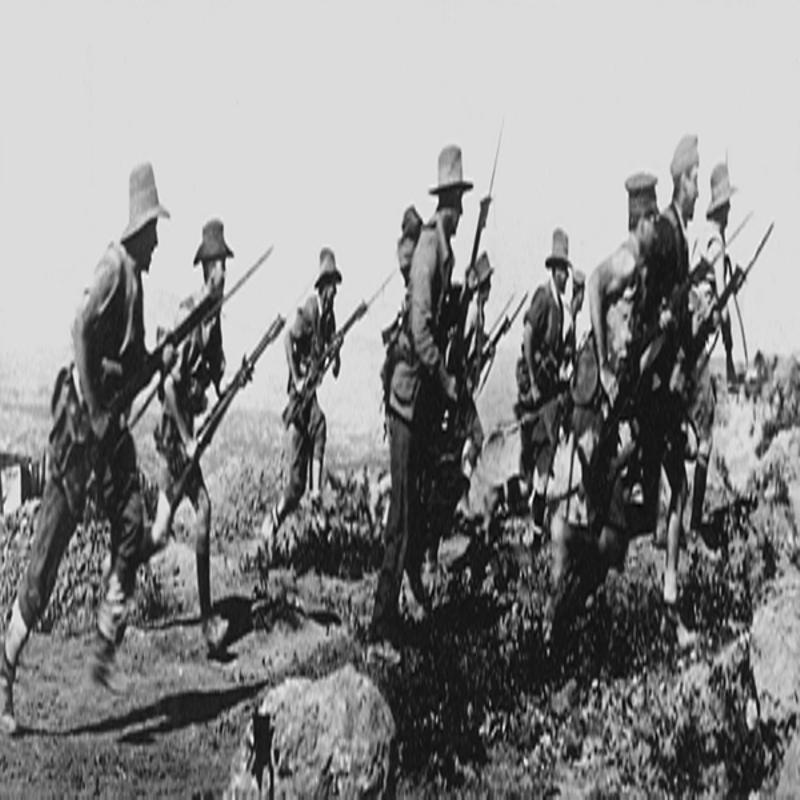
When the first wave of Australians left their trenches, most were hit within a minute of doing so. The second wave fared little better and frantic attempts were made to get the third and final attack cancelled but the order was for the attack to go ahead. It was a massacre and of the 80 men who took part in the final assault almost all were killed as were 372 men of the 600 men who had participated overall.
It had been a widely held view among both the Australian’s and New Zealanders that the British were wasteful of colonial lives and the events at The Nek just seemed to confirm it.
It continues to be a matter of controversy and rancour to this day, whether the order for the final assault to go ahead was given by a British or an Australian Officer; regardless, the bodies of those killed that day were Australian, and remained unburied until the end of the war by which time most could not be identified.
By the end of August, the offensive had petered out with the Allies having suffered more than 20,000 casualties, the Ottoman forces around 12,000. The willingness of either side to make further sacrifice now appeared to dissipate and the campaign became one of stagnant trench warfare. In the meantime, General Stopford had been recalled to London in disgrace.
On 14 October, the ineffective Sir Ian Hamilton, who though unable to devise any way of advancing the campaign had fiercely resisted withdrawal because of the damage it would do to British prestige was replaced by General Sir Charles Munro who assessed the situation and unlike his predecessor advised immediate evacuation.
Lord Kitchener, in London and far away from the conditions on the ground shared Sir Ian Hamilton’s view that the damage done to British prestige in the region negated any possibility of a withdrawal, but such were Sir Charles Munro’s complaints that he decided to visit and see Gallipoli for himself. He very quickly realised that there could be no successful conclusion to the campaign and that the only options available were evacuation or the likelihood of humiliating defeat and surrender.
The recent decision on the part of Bulgaria to enter the war on the side of the Central Powers meant that Germany now had an overland route to Turkey and could reinforce and re-supply it at will. The decision was made to evacuate.
Dire warnings were issued that to evacuate so many men in the depths of winter and under the noses of the Turkish defenders would result in catastrophe. Sir Ian Hamilton had predicted at least 50% casualties.
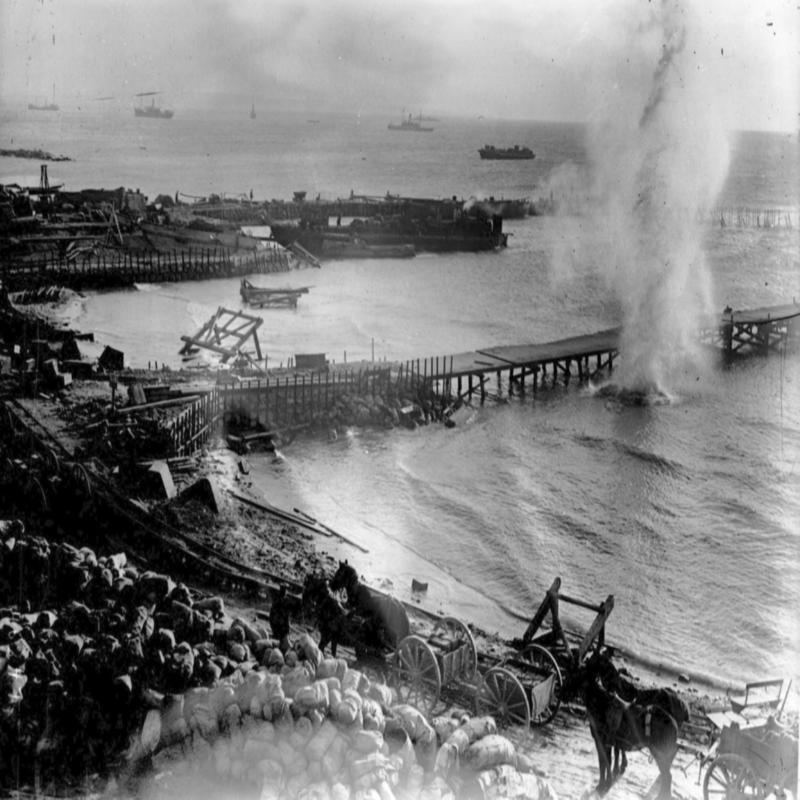
As it turned out the storms, heavy rainfall, driving blizzards and freezing temperatures kept the Turks firmly in their trenches and with much of the evacuation carried out at night and with numerous ruses such as fake fires and self-firing rifles the Turks were fooled into believing that the trenches were still manned. They only learned that a withdrawal was taking place at all on 6 January and launched an immediate but ill-organised assault that was easily repulsed. By the 9 January the last of the 105,000 Allied soldiers had left, they had suffered just two men wounded throughout the entire evacuation. It was by far the most successful operation of the entire campaign.
What had initially been an attempt to force the Dardanelles Straits by naval firepower alone had become a brutal and bloody land campaign that had lasted 8 months 2 weeks and 1 day. It had cost the Allies 220,000 casualties, 58,000 of which had been killed.
For Australia and New Zealand both of whom had only become independent nations at the turn of the century it was to prove a turning point in their short history having combined endured 30,000 casualties with 8,709 Australians and 2,721 New Zealanders killed - they had sealed their position among the nations in the blood of their young men.
In London the political fall-out from the catastrophe fell firmly upon the head of Winston Churchill. The Dardanelles campaign had been his idea and he had botched it at great cost in lives, materiel and prestige. He was removed from his post as First Lord of the Admiralty but given a nominal position that allowed him to remain in the Cabinet. In high dudgeon and no doubt, a degree of contrition he resigned to command a brigade on the Western Front.
He was to return to Government but his reputation as a reckless gambler who could not be entirely trusted never left him.
The British withdrawal from the Gallipoli peninsular was a great victory for the Ottoman Empire and emboldened them in their attempt to create a Turkish sphere of influence in the Middle East and they were to follow it up with another victory over a British Army at Kut-al-Amara in Iraq later the same year. But it had been bought at a terrible price with more than 251,000 men of the 315,000 who fought at Gallipoli becoming casualties.
Share this post:


